Signing a document
When a document is marked as "Ready to sign," the document is set to the In Progress stage.
In the In Progress stage, you (and the signers) can preview and sign the document, but signers can't be added or removed.
Note
For more information on what can and can not be done with a document in the various stages, refer to Signature Stages.
Signatures are collected in the signer order established in Add Signers. You can view the status of signature collection by viewing the document details
These instructions cover capturing a signature in person. Remote signers are sent a link to sign the document remotely; their experience is similar to the following instructions (absent the steps for navigating to the document).
Collect In-Person Signature(s)
Signers that were added with the In Person signing method sign the document in Sycle.
-
Navigate to the row containing the document.
-
Do one of the following:
-
Click the row containing the document to open the , or
-
Click the unfold icon (
 ) in the column to open the document menu.
 -
Navigate to the tab of the document menu.
-
In the → section, click to open the .
-
-
If needed, navigate to the tab on the document menu in the screen.
Tip
Opening from → → automatically opens the tab.
-
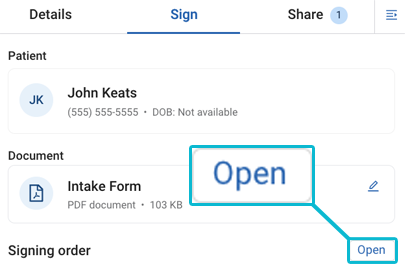
Review the signing order to ensure that you are collecting the correct signature, then click to open the screen.
-
On the screen, click .

-
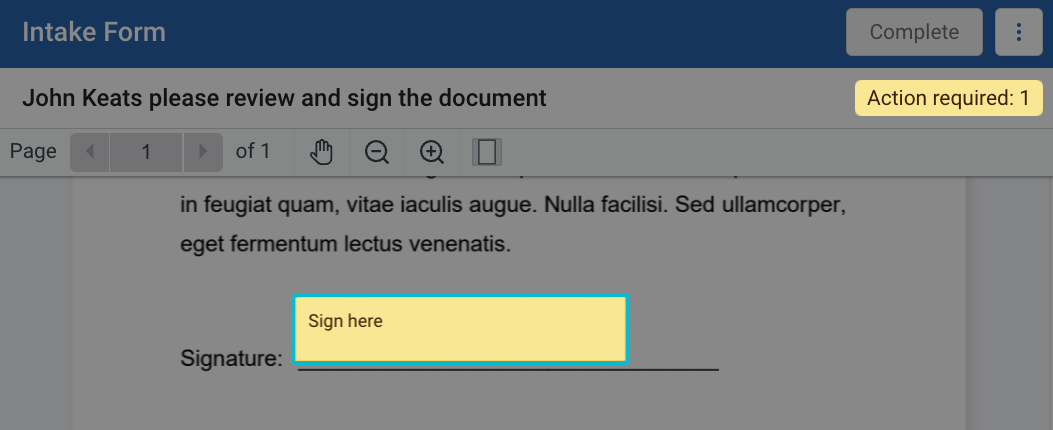
Review the document, then click the signature field (Sign here ) to open the screen.
Note
If Action required shows more than 1 when first opening the screen, there are multiple signature fields set for the signer.
-
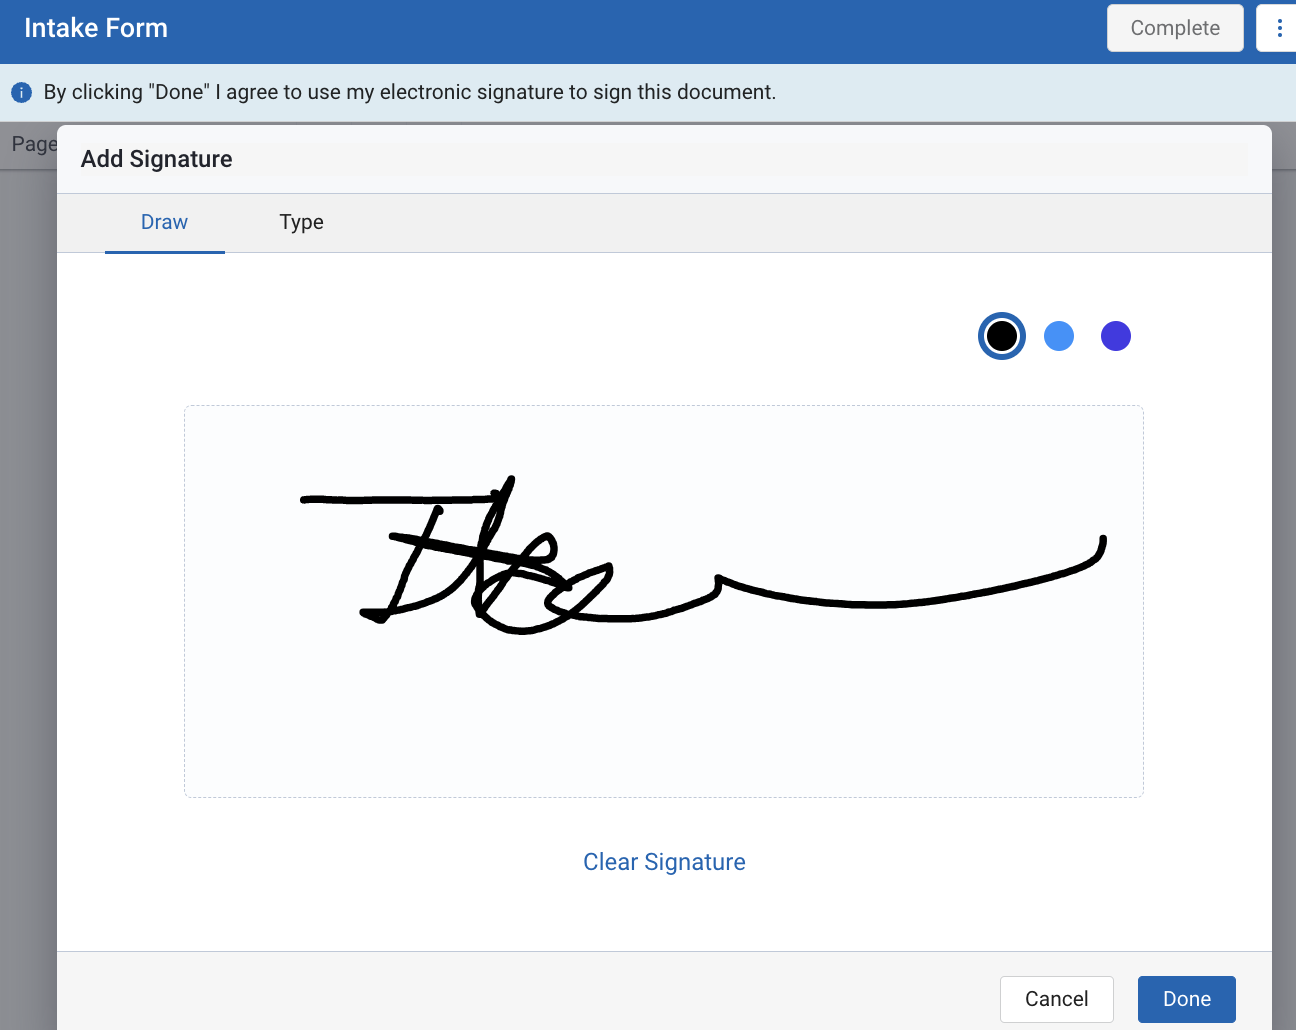
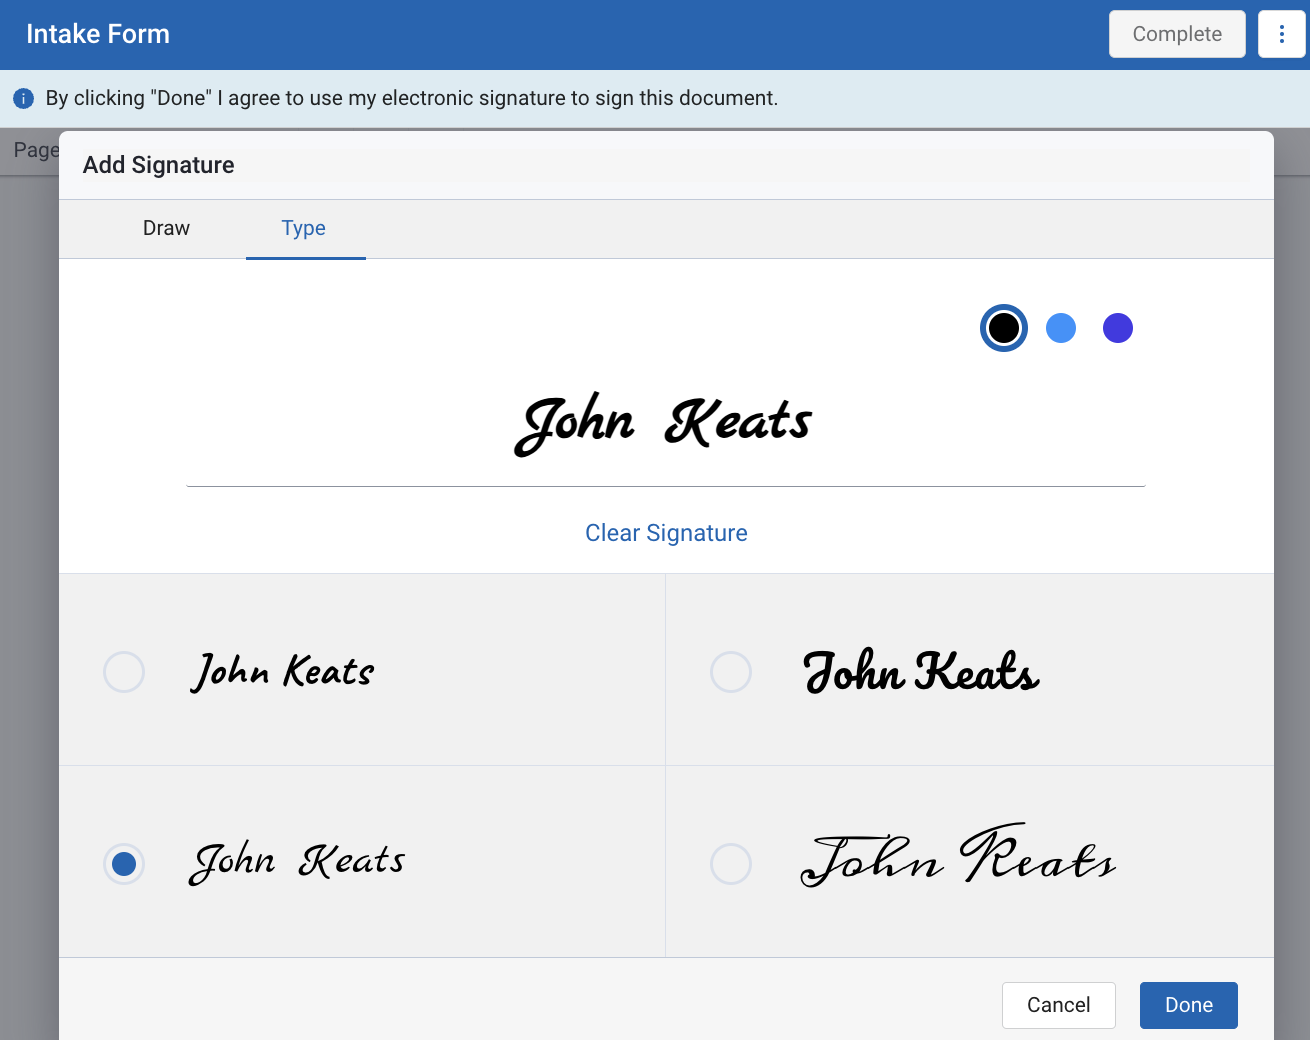
On the screen, select Draw or Type.
-
Draw: Draw your signature on the screen and (optionally) change the color of the signature.
-
Type: If needed, adjust the pre-filled name in the field. Optionally, change the font and color of the signature.
-
-
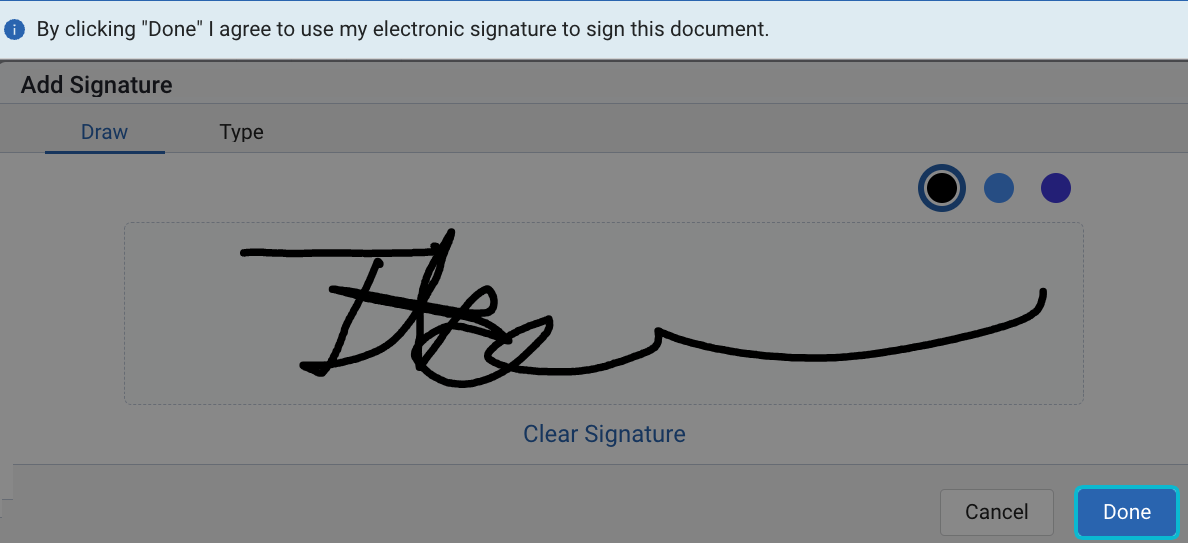
When the signature has been drawn or typed, click to capture the electronic signature and close the screen.
-
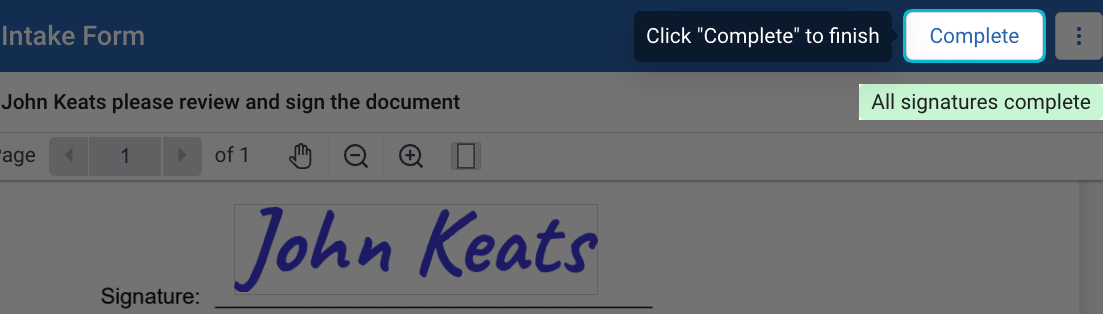
The screen will display the captured signature and prompt you to complete the signing process. Click .
Note
If you see Action required on the screen instead of All signatures complete, this signer has additional signature fields to fill. Repeat Step 7 through Step 9 until you see All signatures complete.
Tip
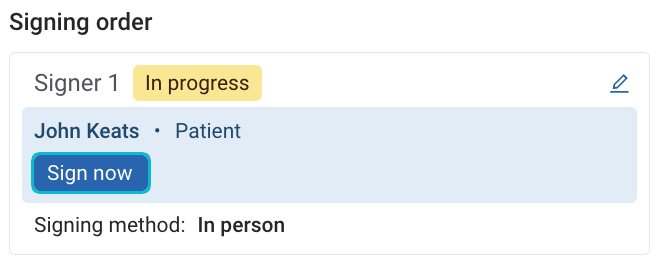
If the signer next in the signing order is using the In Person signing method, the button appears. This button can be used to repeat this procedure to collect the next signature.
If there are additional signers on the document, the document is now ready to collect the signature from the signer next in line.
If the signer next in line is using the In Person signing method, you can repeat this procedure to collect that signature.
If the signer next in line is using a remote signing method (such as email), that signer will now receive a message with instructions on how to sign the document.
When all signatures are collected, the document's status changes to Completed.

To view a single patient's documents, navigate to → .
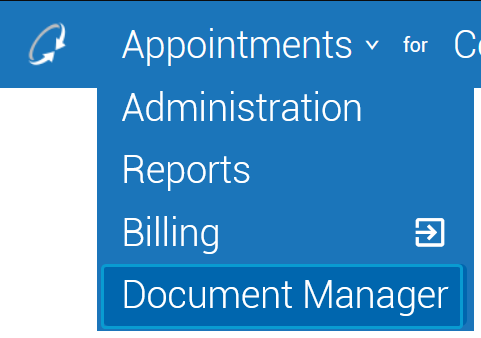
To view all documents, select Document Manager from the dropdown menu on top-left of the screen.