Prepare to sign
The first stage in capturing signatures on a document is preparing the document for signing, which sets the document to the Draft stage. In the Draft stage, you can add/edit/remove signers, change the order of the signers, and add/edit signature fields.
The typical Draft stage of a document is → → . These steps are detailed in the sections below.
Add Signers
The first step in preparing a document for signatures is to add signers to the document. This sets the document to the Draft stage.
-
Navigate to the row containing the document.
-
Do one of the following:
-
Click the row containing the document to open the , or
-
Click the unfold icon (
 ) in the column to open the document menu.
 -
Navigate to the tab of the document menu.
-
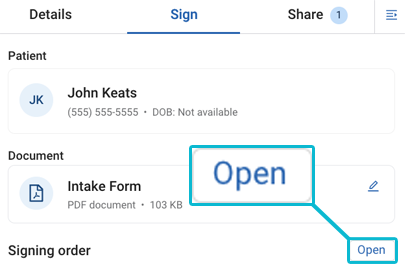
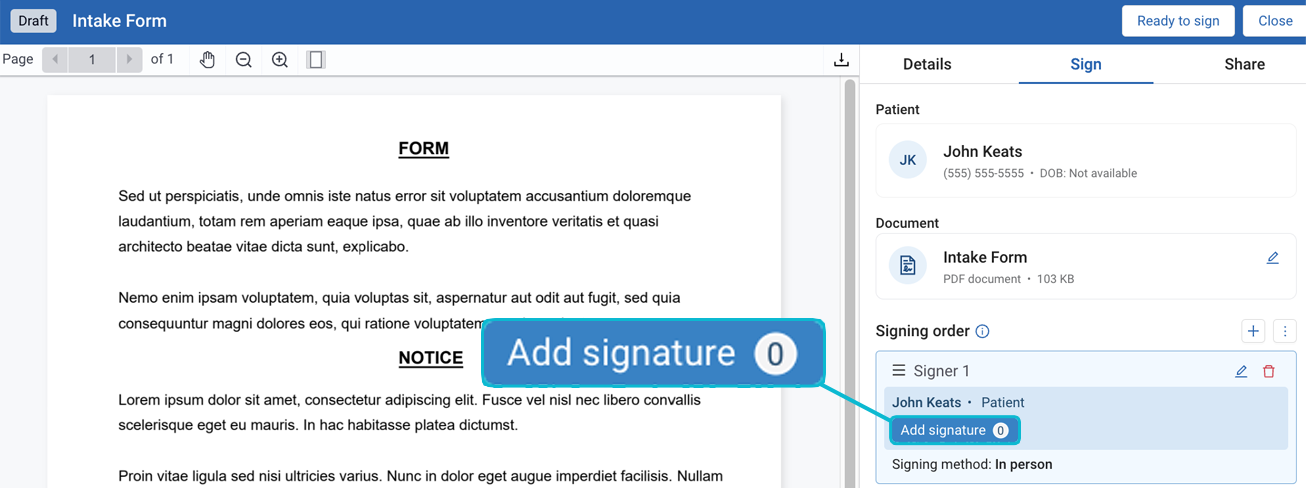
In the → section, click to open the .
-
-
If needed, navigate to the tab on the document menu in the screen.
Tip
Opening from → → automatically opens the tab.
-
In the → section, click the Add (
 ) button to add a signer.
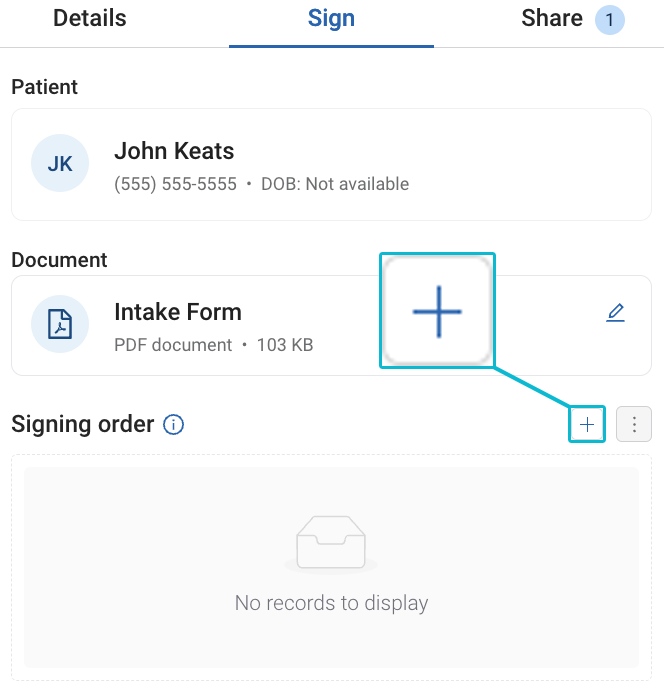
Warning
Add signers in the order they should sign the document.
-
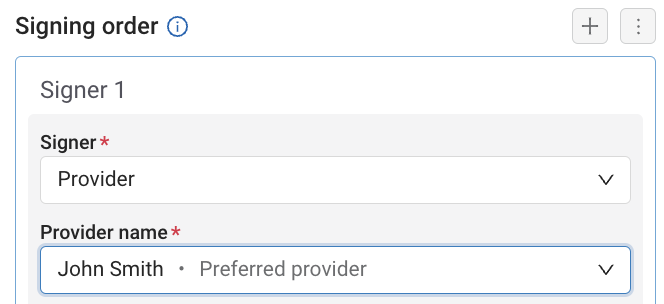
Select a signer in the Signer field.

-
If you selected Provider or Physician in Step 6, search for and select the provider or physician in the / field.
Note
Search for the provider/physician by first or last name. You can not search for a full (first and last) name.
-
Select how the signer will sign the document (In person or Remotely) in the field.

-
If you selected Remotely in Step 8, select a and either select or enter the contact details.

Tip
If the signer does not have their contact details set in their Sycle record, you must enter the details manually.
If the signer does have their contact details set in their Sycle record, you must use those details when adding the signer. These contact details can be edited later (see Change Signing Method / Contact Details).
-
Click to add the signer.
-
If the prompt appears, review the prompt and click .
Warning
A document is set to the Draft stage when a signer is added to that document.
Setting a document to this stage voids all existing shared links. These shared links can be re-created (and new ones added), but the document will not be sent to share recipients until the final signature is collected (i.e. the signature process is finished and the document's status is Completed).
Tip
For more information on signature stages or shared links, refer to Signature Stages and Sharing Documents.
-
Repeat Step 5 through Step 10 to add additional signers.
Warning
Add signers in the order they should sign the document.
After adding signer(s) the document, you can add signature field(s). Proceed to Add Signature Fields.
Add Signature Fields
After adding signers, you add signature fields. These fields will be used by the signers to add their signatures.
-
If needed, open the Document Preview screen for the document by clicking the document in Document Manager or by navigating to
→
→ → . -
If needed, navigate to the tab on the document menu in the screen.
Tip
Opening from → → automatically opens the tab.
-
In the → section, select a signer and click .
-
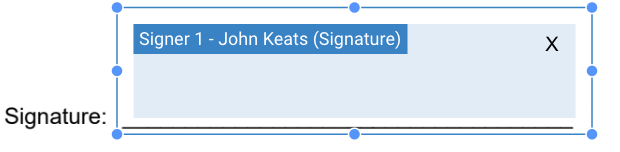
To move the signature field, either click and drag the signature field with your mouse, or use the arrow keys on your keyboard.
Tip
You can adjust the distance the signature field moves when using the arrow keys with your Shift button.
-
↑ ↓ → ←: Move the field slightly in the direction of the arrow key.
-
Shift+↑ ↓ → ←: Move the field farther in the direction of the arrow key.
-
-
Use the border handles to resize the signature field.
Tip
You can delete the field by clicking the X in the field, or by selecting the field and pressing Delete or Backspaceor on your keyboard.
-
Repeat Step 3 through Step 5 to add signature fields for the remaining signers.
Now that the document has signers and signature fields, the document can be marked as ready to sign.
If you need to make any modifications to your signers or the signature fields, proceed to Modify Signers and Signature Fields before marking the document as ready to sign. Otherwise, proceed to Set Document to In Progress (Ready to Sign).
Modify Signers and Signature Fields
If you need to make any changes to signers or signature fields, do so before marking the document as ready to sign.
After making your modifications (or if modifications are not needed), proceed to Set Document to In Progress (Ready to Sign).
Signers can be removed from the document during the Draft stage. Removing a signer also deletes that signer's signature fields.
-
If needed, open the Document Preview screen for the document by clicking the document in Document Manager or by navigating to
→ → → . -
If needed, navigate to the tab on the document menu in the screen.
-
In the → section, select a signer and click the Delete (
 )
icon.
)
icon. -
Review the message in the dialog, then click .
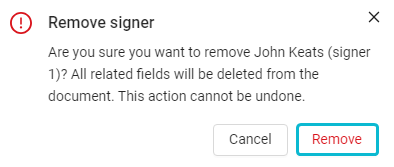
When the signer is removed, that signer's signature fields are deleted. All signers below the removed signer are moved up (e.g. if signer 2 is removed, signer 3 becomes signer 2).
A signer's signing method and/or contact details can be changed during the Draft and In Progress stages.
-
If needed, open the Document Preview screen for the document by clicking the document in Document Manager or by navigating to
→ → → . -
If needed, navigate to the tab on the document menu in the screen.
-
In the → section, select a signer and click the Edit (
 ) icon.
 -
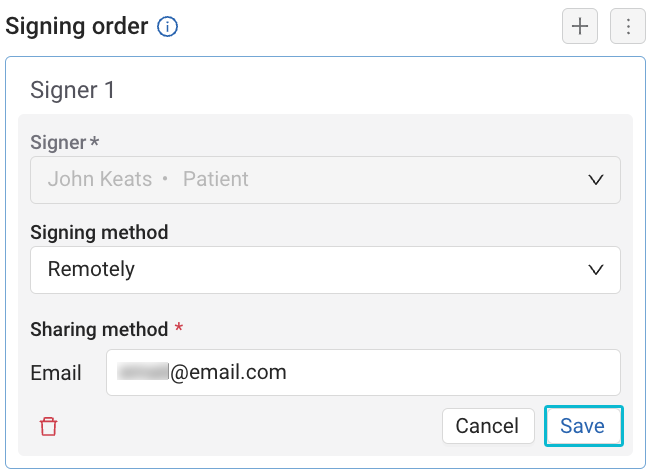
Select how the signer will sign the document (In person or Remotely) in the field.
Tip
If you are only adjusting the contact details for a remote signer, skip this step.

-
If you skipped or selected Remotely in Step 4, select or enter the contact details in the field.
Tip
If the signer does not have their contact details set in their Sycle record, you must enter the details manually.
If the signer does have their contact details set in their Sycle record, you must use those details when adding the signer.
-
Click .
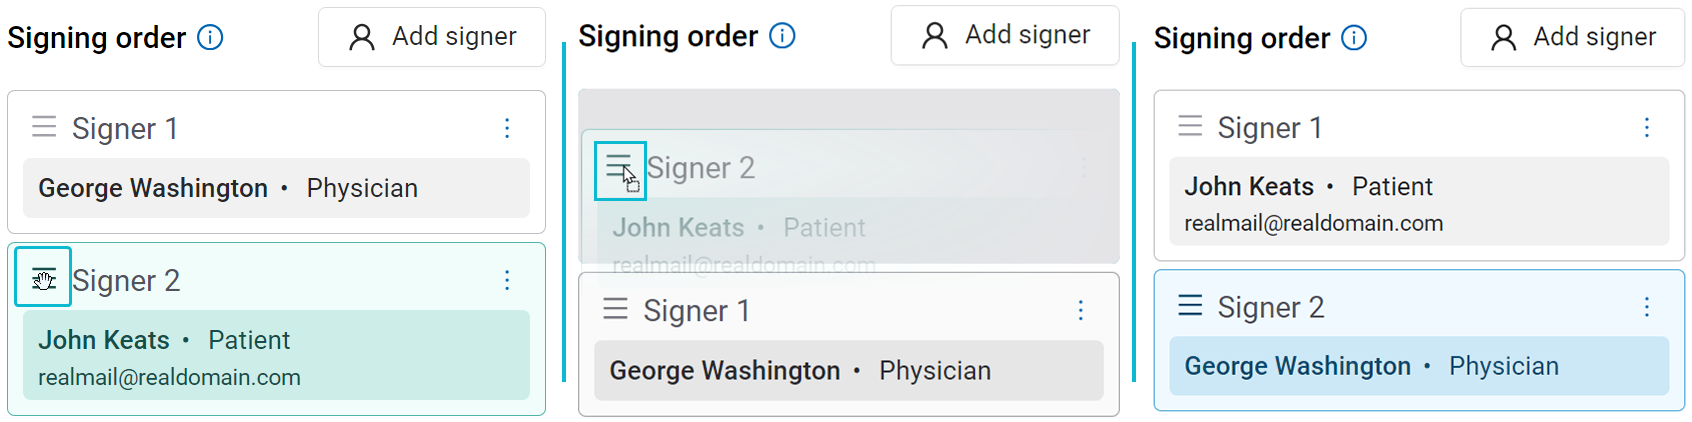
The signing order (the sequence the document is sent to signers for signature collection) can be adjusted in the Draft stage.
-
If needed, open the Document Preview screen for the document by clicking the document in Document Manager or by navigating to
→ → → . -
On the Prepare to Sign screen, locate the signer and click the triple bar (≡).
-
Hold your mouse button down on the triple bar (≡) and drag the signer to the desired position, then release your mouse button.
Signature fields can be resized, moved, or deleted in the Draft stage.
-
If needed, open the Document Preview screen for the document by clicking the document in Document Manager or by navigating to
→ → → . -
On the Document Preview screen, click the signature field you want to edit, then do one or more of the following steps.
-
To move the signature field, either click and drag the signature field with your mouse, or use the arrow keys on your keyboard.
Tip
You can adjust the distance the signature field moves when using the arrow keys with your Shift button.
-
↑ ↓ → ←: Move the field slightly in the direction of the arrow key.
-
Shift+↑ ↓ → ←: Move the field farther in the direction of the arrow key.
-
-
Use the border handles to resize the signature field.
-
Press Delete or Backspace to delete the signature field.
Set Document to In Progress (Ready to Sign)
A document in the Draft stage with signers and signature fields added is ready to progress to the In Progress stage by being marked as "Ready to Sign."
-
If needed, open the Document Preview screen for the document by clicking the document in Document Manager or by navigating to
→
→ → . -
On the Document Preview screen, click .
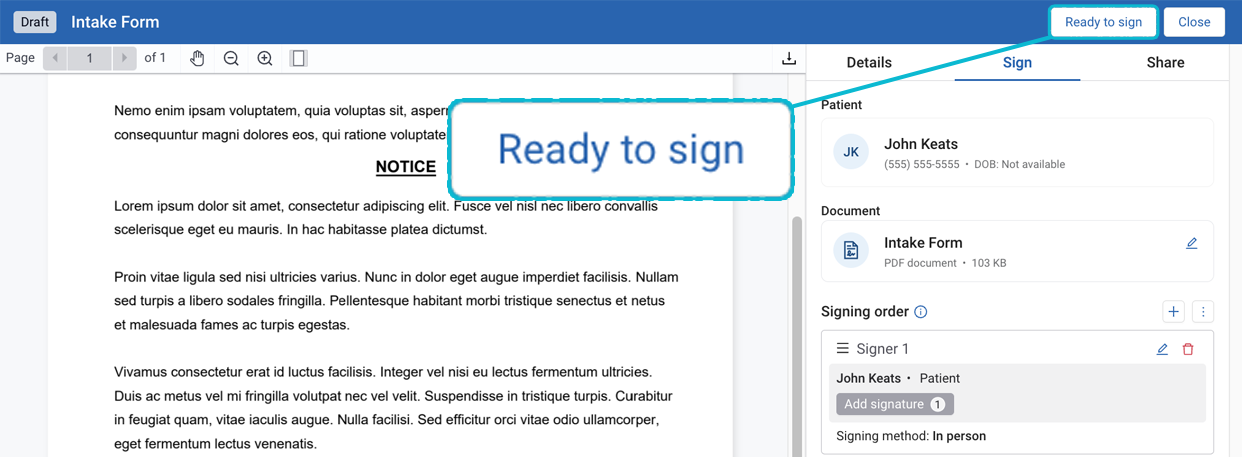
The document is now in the In Progress stage, where signers will add their signatures in the order set earlier.

If the first signer has the In Person signing method selected, the signing process will start automatically.
Proceed to Signing a document.
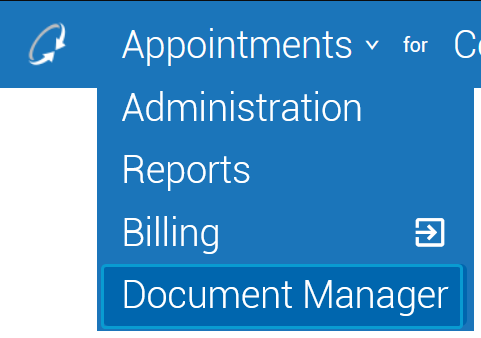
To view a single patient's documents, navigate to → .
To view all documents, select Document Manager from the dropdown menu on top-left of the screen.