Uploading Documents
You can upload documents on the screen or on the → tab. When uploading from → , you are limited to uploading documents for that patient.
Tip
Documents can be scanned from → .
-
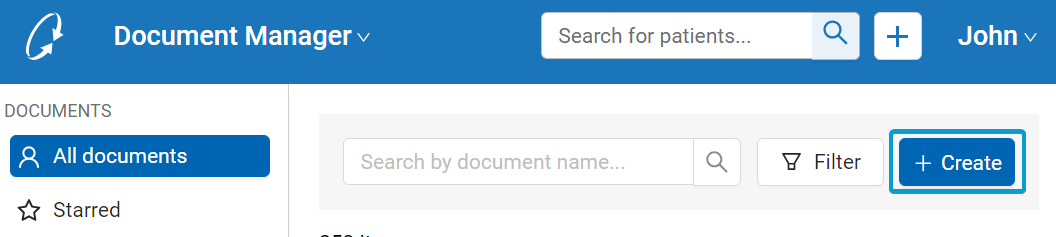
Click to open the sidebar.
Notice
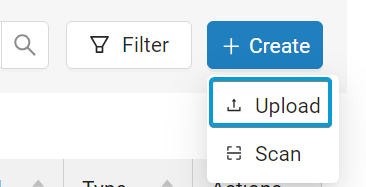
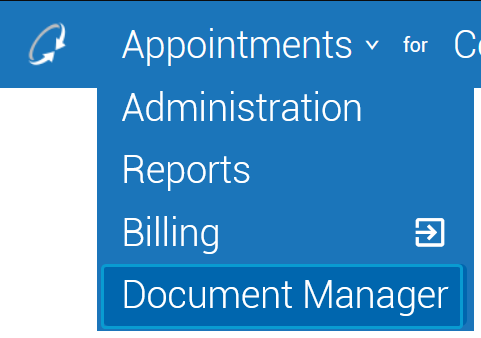
When Document Manager is accessed from → , select → .
-
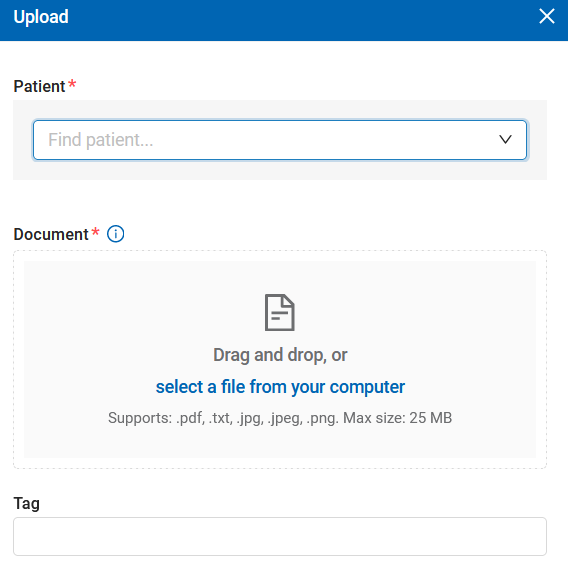
In the Patient field, search for and select a patient.
Note
When accessing Document Manager from the → tab, the Patient field is automatically populated with the current patient and can not be changed.

-
Upload the document by doing one of the following:
-
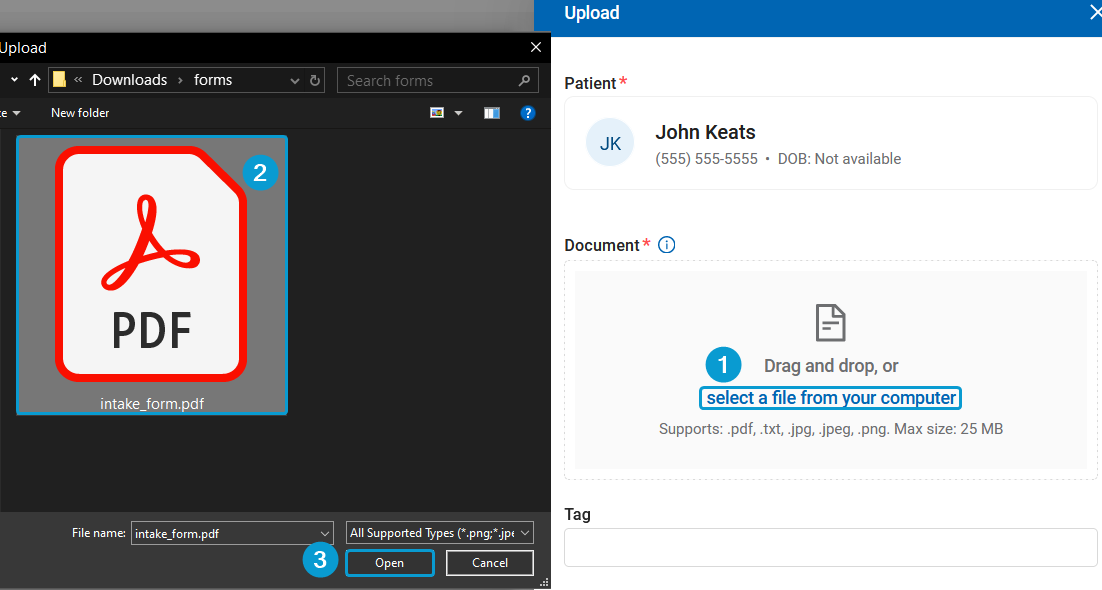
Navigate to your file in Windows Explorer. Drag a document from the Windows Explorer window to the Document frame in the sidebar.

-
Click select a file from your computer. In the window, navigate to and select your document, then click .
Important
Documents must adhere to the following:
-
Files must be in a supported format (.pdf, .txt, .jpg, .jpeg, or .png).
-
Files are restricted to ≤25MB in size.
-
File names are limited to 200 characters in length.
-
File names must not include characters other than alphanumeric characters (a-z, A-Z, 0-9), spaces, periods (.), hyphens (-), and underscores (_).
-
File names must not end in a period. This restriction is specific to the base filename and not the period used in file extensions (e.g .pdf, .png).
Tip
If file name extensions and/or file sizes are not visible on your computer, you can right-click on the file, select , and review the → field to check a file's type and the → field to check the file's size.
Tip
Only PDF files allow you to create signature fields. If you intend to collect digital signatures on the document, ensure you upload a PDF.
-
-
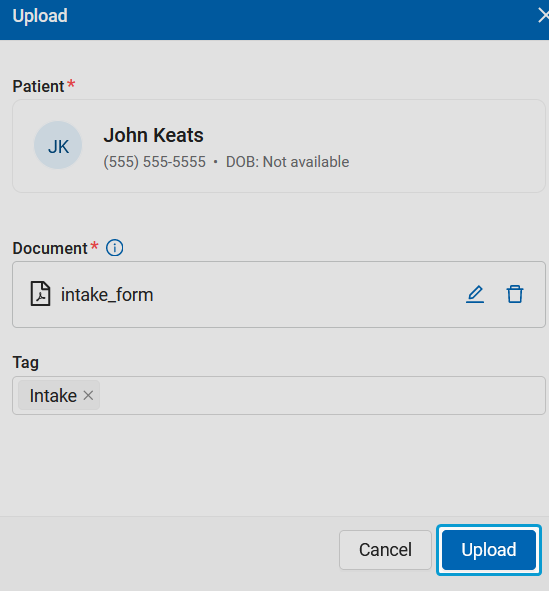
To change the name of the uploaded document, click the Edit (
 ) icon.
-
In the Tag field, select one or more tags to add to the document.
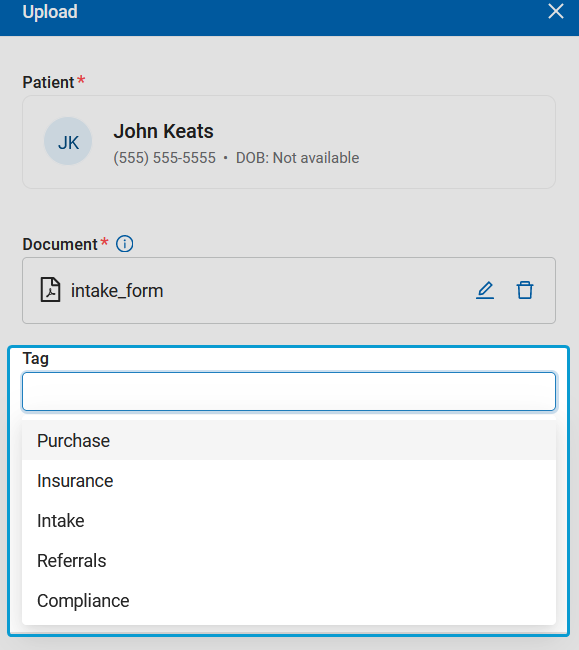
Tip
Tags help identify a document's purpose and can be used in filters.
-
Click to finish uploading the document.
If you need to make changes to the uploaded document, refer to Editing Documents.
To view a single patient's documents, navigate to → .
To view all documents, select Document Manager from the dropdown menu on top-left of the screen.
A file format that preserves document formatting for viewing and printing across platforms, independent of software, hardware, or operating system.