Installing Sycle Noah Sync
Installing Sycle Noah Sync (SNS) is a multi-step process that involves backing up your Noah System data, exporting and uploading your Noah System data file, converting your Noah System license to a Noah Engine license, and installing the software.
Warning
If you already have SNS installed, do not proceed with the instructions in this article. Instead, refer to the Upgrading Sycle Noah Sync article.
Installation Requirements
Before you proceed with installing SNS, ensure that the following requirements are met. You may require assistance from your system administrator or IT department.
-
You will not need to make any changes to NOAH patient data in the next 24–36 hours.
Sycle recommends that you perform this migration after business hours and/or on a Friday to minimize any operation impact.
-
If you have any third-party Noah modules installed, you have consulted your module manufacturers and confirmed that those modules are compatible with the version of Noah incorporated in SNS.
-
Your PC is running one of the operating systems supported by SNS and Noah System 4.
-
Windows 11 – Excluding Windows 11 on Arm and Insider Preview builds.
-
Windows 10 – Excluding Long Term Service Channel/Branch (LTSC/LTSB) releases, Windows 10 Mobile OS, Windows 10 in S mode, Windows 10 on Arm, and Insider Preview builds.
-
Windows Server 2022/2019/2016 – Excluding Windows Server Core and Nano Server.
-
-
Your PC meets the other minimum system requirements for Noah System 4[6].
-
Your Windows operating system has the latest Windows Updates and Service Packs applied.
-
You know the administrator username and password for your PC. The installer must be run as an administrator account[7].
-
(If applicable) Your system administrator or IT department are aware of the installation timeline and are available to offer assistance.
-
You have obtained and have access to the upload link provided by the Sycle Customer Experience Team (see Obtaining an Upload Link and a Conversion License).
-
You have obtained and have access to the Noah Conversion key (provided by the Sycle Customer Experience Team) that you will use to convert your Noah System license to a Noah Engine license (see Obtaining an Upload Link and a Conversion License).
Migrating Noah System Data
The Noah System's patient data must be backed up (for redundancy), exported, uploaded to Sycle, and your Noah System license converted to a Noah Engine license before you install Sycle Noah Sync.
Creating a Noah System Data Backup
The patient data on your Noah System must be backed up. This ensures you can restore your Noah database if there are problems with the migration.
These instructions assume that the default database backup location is configured. You can verify your configured backup location in the Noah Console by navigating to → and reviewing the → field.
If you are using a custom backup location outside the C:\ProgramData\HIMSA\* directory (such as an external storage device or a network share), follow only Step 1
and Step 2.
Caution
These steps must be performed immediately before installing Sycle Noah Sync, and at a time when no changes will be made to patient data for the next 24–36 hours (see Installation Requirements).
Important
This guide assumes that you are migrating either a standalone Noah database (on a single PC) or using a shared office database. If using a shared office database, ensure all steps are performed on the PC running the shared office database (i.e. your Noah Server).
-
Open the Noah Console.
Tip
The Noah Console can be opened from the Noah software ( → ) or from Windows ( → → )
-
Navigate to and click → → →
-
In Windows Explorer, navigate to
C:\ProgramData\HIMSA.Tip
If you can not see the
ProgramDatadirectory inC:\, enter the full path directly in your Windows Explorer address bar and press Enter.
Notice
If the above directory does not exist, navigate instead to
C:\Program Files (x86)\HIMSA. -
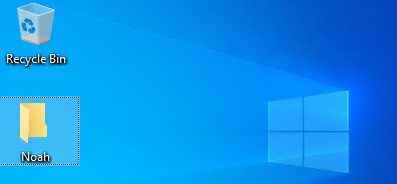
Copy the
Noahdirectory fromC:\ProgramData\HIMSAto a secondary location. This example uses the local PC's Desktop.Note
If the above directory does not exist, copy the
Noah 4directory fromC:\Program Files (x86)\HIMSAto the secondary location using the same steps.-
Click the
Noahdirectory and press CTRL+C to copy the directory.
-
Navigate to your secondary location. In this example, we navigate to the Desktop (⊞ Win+D).
-
Press CTRL+V to paste the directory to your secondary location.
-
Exporting and Uploading Noah System Data
After you have backed up your Noah System data (Creating a Noah System Data Backup), you must export your patient data and upload it to Sycle.
Caution
These steps must be performed immediately before installing Sycle Noah Sync, and at a time when no changes will be made to patient data for the next 24–36 hours (see Installation Requirements).
Important
This guide assumes that you are migrating either a standalone Noah database (on a single PC) or using a shared office database. If using a shared office database, ensure all steps are performed on the PC running the shared office database (i.e. your Noah Server).
-
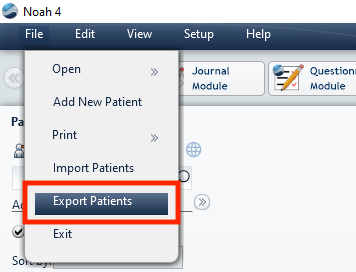
In your Noah software, navigate to and click → .
-
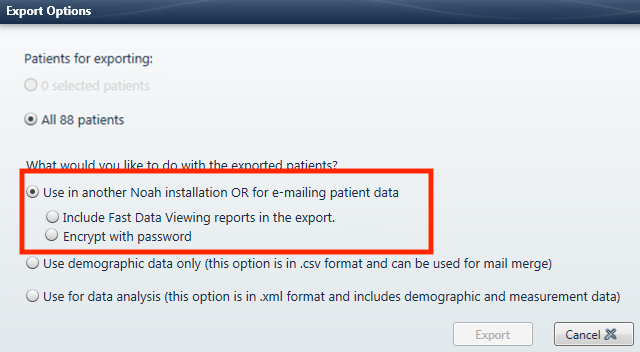
In the window, do the following:
-
Select → .
-
Select → .
-
Under , the and options.
Caution
These options are enabled by default. Ensure these fields are disabled enabled before proceeding. Disabling these options is required for Noah to export the patient data in the .nhax format required for Sycle to import your data to Sycle Noah Sync.
Note
These fields will not appear on versions of Noah lower than Noah 4.9.
-
Click or .
-
-
In the window, enter the as Sycle, LLC and the as Migration. Click .
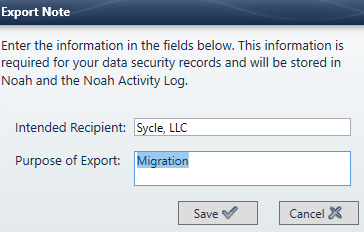
Note
This window will not appear on versions of Noah lower than Noah 4.10.
-
In the window, navigate to a location where you will save the file, then do the following:
-
In the field, enter the name of the file in the following format:
PCXXXX-Clinic Name-Date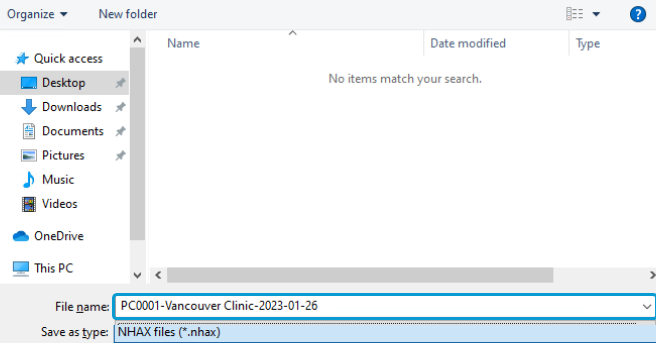
Notice
Dates should be in ISO 8601 format, e.g. YYYY-MM-DD.
Tip
An example file name would be
PC0001-Vancouver Clinic-2023-01-26 -
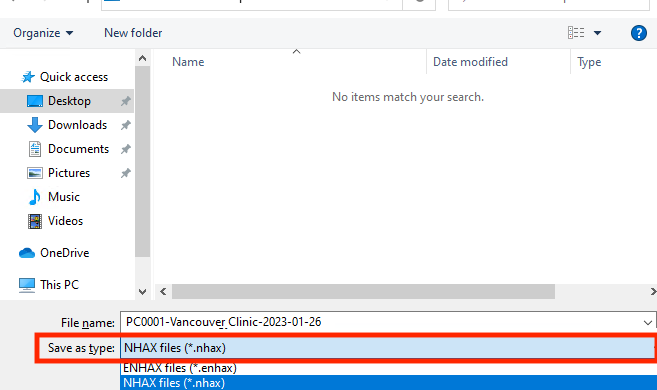
In the field, select NHAX files (*.nhax).
-
Click .
-
-
Open the email provided by the Customer Experience team.
Tip
This email was sent as a part of the preparation steps performed in the Obtaining an Upload Link and a Conversion License section.
-
Click the link in the email from the Customer Experience team.
Caution
Never click any links in unsolicited emails. If in any doubt about an email message that seems to originate from Sycle, contact the .Sycle Customer Experience Team.
-
Verify the domain (
securesycle.sharefile.com) in your browser's address bar and that the CE team member's name is shown on the page.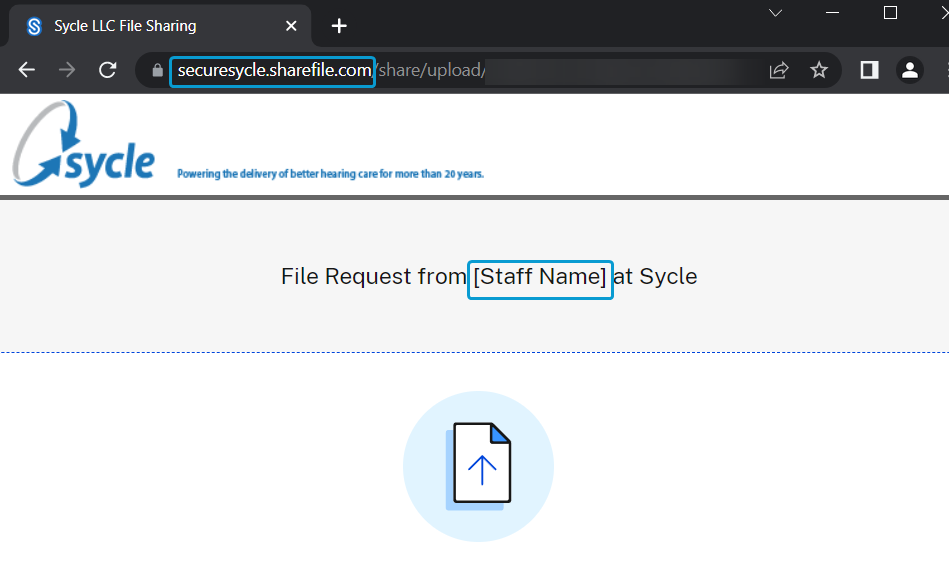
-
Click .
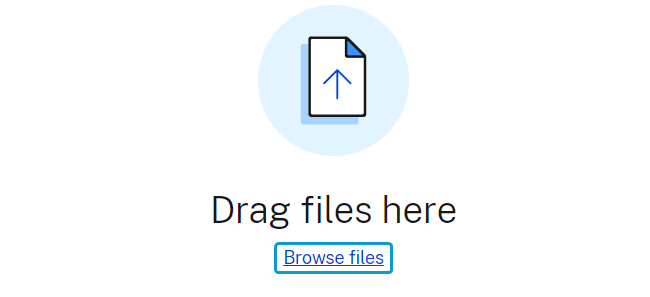
-
In the window, navigate to and select the
PCXXXX-Clinic Name-Datefile you exported in Step 4 of the Exporting Noah System Data instructions section and click .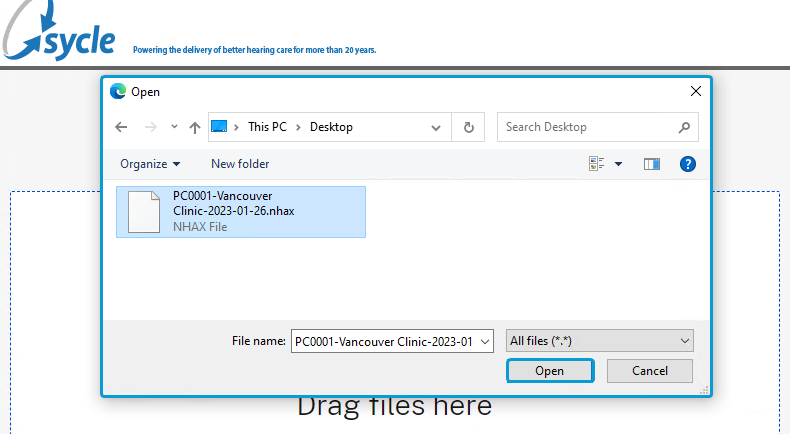
-
Verify the information on screen, then click .
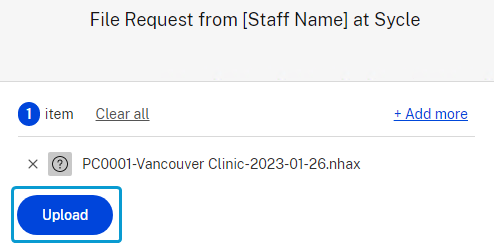
-
Wait for the file upload to complete.

After the file has been uploaded, contact the Sycle Customer Experience Team team by calling 888.881.7925 or by emailing support@sycle.net and verify that the file upload was successful. If the file upload was successful, proceed to the Converting the Noah License section.
Converting the Noah License
You will now use your Noah Conversion key to convert your Noah System license to a Noah Engine license.
You will need both the Noah Conversion key provided by the Sycle Customer Experience Team (see Obtaining an Upload Link and a Conversion License) and the registration number associated with your current Noah license[8].
-
Navigate to the at
registration.himsa.dkTip
You can also open the by navigating to
himsa.com, then selecting → . -
In the field, enter the Noah Conversion key provided by the Customer Experience Team and click .
-
Review the and click .
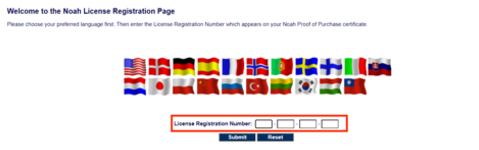
-
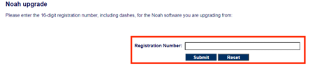
On the page, enter the registration number associated with your current Noah license[8] in the field and click .
-
On the page, verify the accuracy of the information in all fields and click .
Important
You must contact HIMSA to resolve any inaccuracies on this page.
-
Click to download the
License.exefile.
Proceed to Running the License Conversion File.
-
Navigate to your
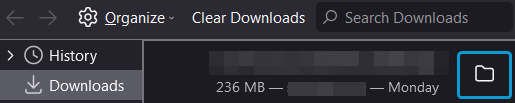
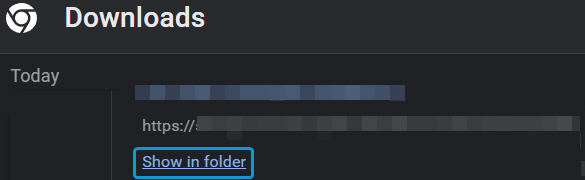
Downloadsdirectory.Tip
On most browsers, the easiest way to view your recent downloads is by opening the browser and pressing CTRL+J on your keyboard. When the downloads tab or window appears, you can click the appropriate icon or text to open your downloads folder (shown below).
-
Right-click the
License.exefile and select .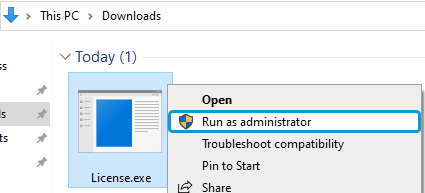
Tip
If file name extensions are not visible on your computer, this file will display only as
Licenseand will not show the.exeextension. This does not affect the installation process. -
If the window appears, click .
Note
This window may not appear on your device. This does not affect the installation process and you can ignore this step.
-
When the installer opens, follow the installation instructions on screen to proceed through the installation.
-
When the installation of the license file is complete, ensure the window shows "The NOAH license file has been successfully installed" and click .
Running the Installation
-
(If applicable) Pause or disable any non-Microsoft antivirus programs or firewalls installed on your PC.
-
Open your web browser and navigate to
sycle.com/noah-synch-download. -
Click the download link on that page to download the SNS installer package.
-
Navigate to your
Downloadsdirectory.Tip
On most browsers, the easiest way to view your recent downloads is by opening the browser and pressing CTRL+J on your keyboard. When the downloads tab or window appears, you can click the appropriate icon or text to open your downloads folder (shown below).
-
In the
Downloadsdirectory, right-click the downloaded installation package and select .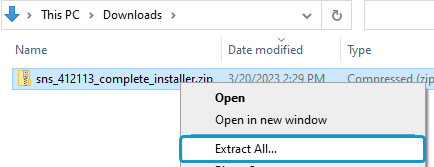
-
Do not change any of the options in the window. Click .
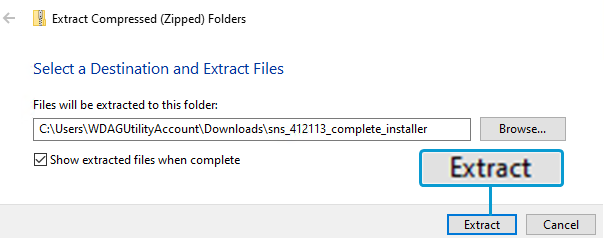
Wait for the files to finish extracting. When the extraction is complete, the location of the extracted files will open in a new Windows Explorer window.
-
Right-click the
setup.exefile and select .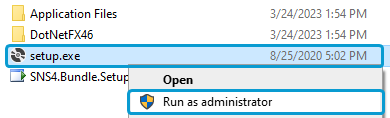
Tip
If file name extensions are not visible on your computer, this file will display only as
setupand will not show the.exeextension. This does not affect the installation process. -
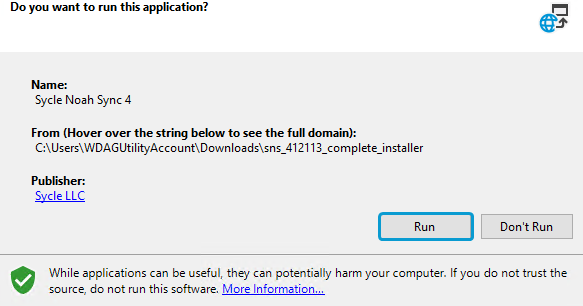
If the window appears, click .
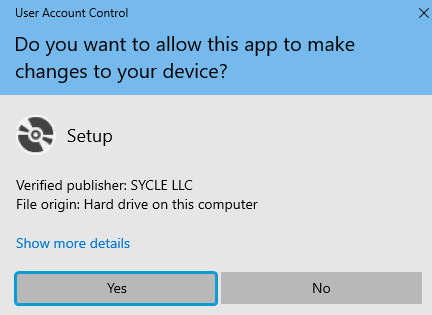
Note
This window may not appear on your device. This does not affect the installation process; simply ignore this step and proceed to Step 9.
-
Wait for the window to finish verifying the application requirements. Do not exit this window manually.
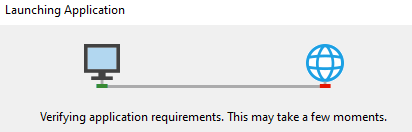
When this step is completed (automatically), the installer closes this window and opens the window.
-
In the window, select .
-
Wait for the window to finish the download process. Do not exit this window manually.
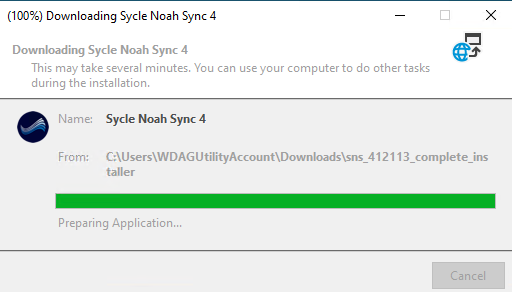
When this step is completed (automatically), the installer closes this window and opens the window.
Note
This window may only be briefly visible before it closes automatically. If you do not see this window, simply proceed to Step 12.
-
Review the contents of the window. If you have fulfilled the conditions and requirements (see Installation Requirements), click .
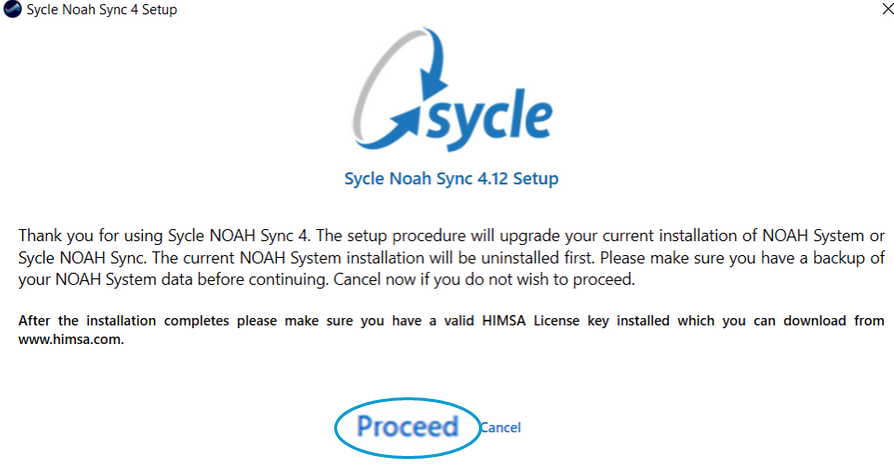
Danger
If you have not fulfilled the conditions and requirements (see Installation Requirements), this is your last chance to cancel the installation process. If you have not reviewed the requirements, click to abort the installation. When all the requirements have been met, you can start the installation again from Step 7.
-
Wait for the installer to complete the installation. This process is automatic. Do not close or exit any of the windows that appear during the installation process.
-
(If applicable) Un-pause or enable any non-Microsoft antivirus programs or firewalls that you disabled in Step 1.
-
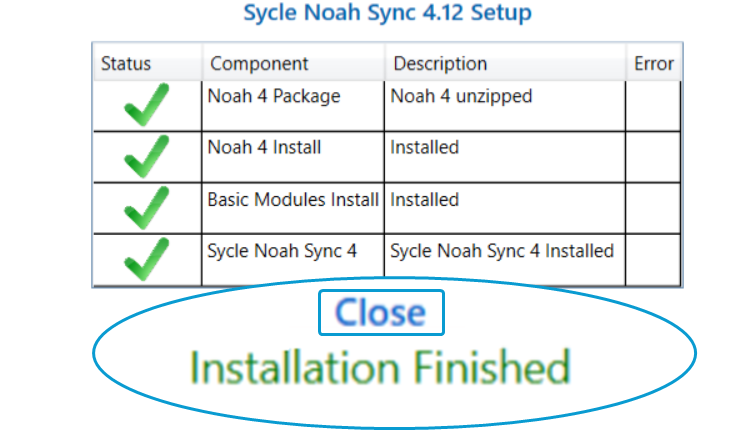
When the installer shows Installation Finished, click .
Proceed to the Post-Installation article.
[6] These requirements are listed in the Minimum system requirements for Noah System 4 article on http://www.himsa.com.
[7] The Administrator account must be set up with a valid password. Running the installer with an Administrator account without a password will fail.
[8] This registration number is the same 16 digit alpha-numeric code you provided to CE in the Obtaining an Upload Link and a Conversion License section.